PRODUCT DETAILS
Mass Per Unit Area | Area | Width | Length
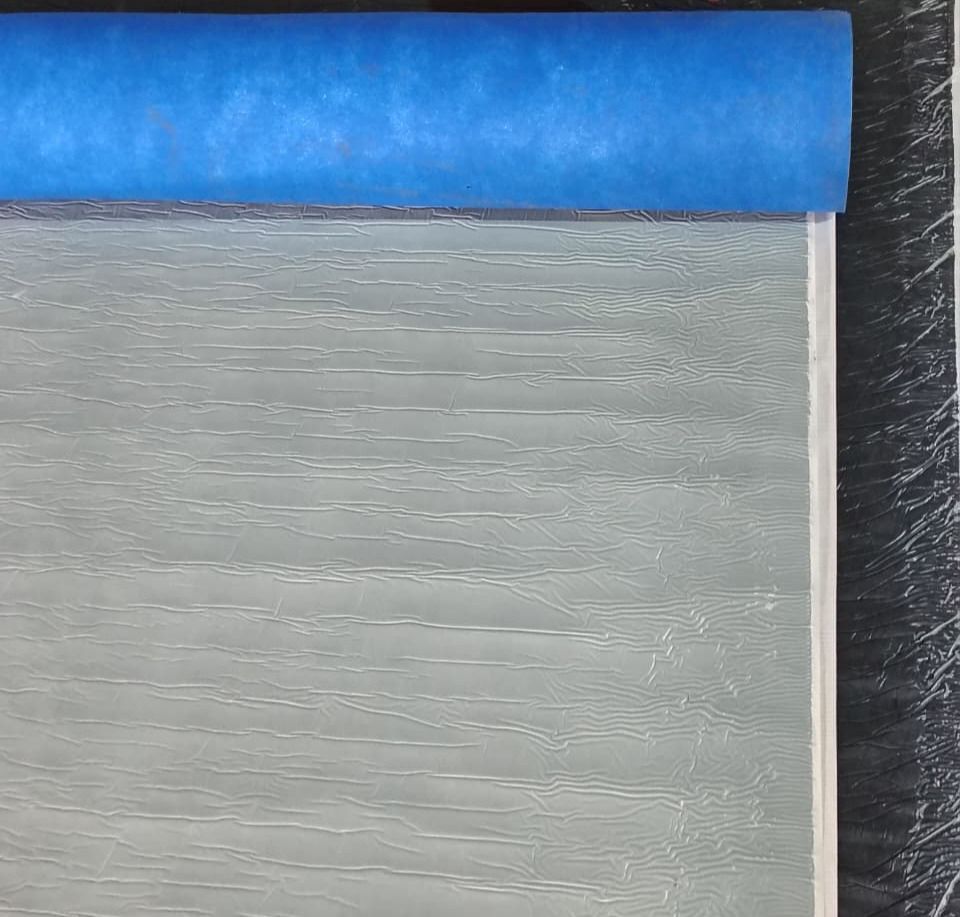
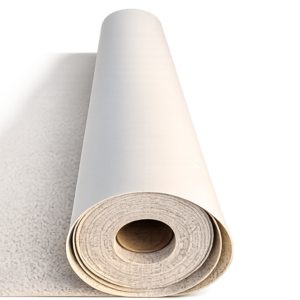
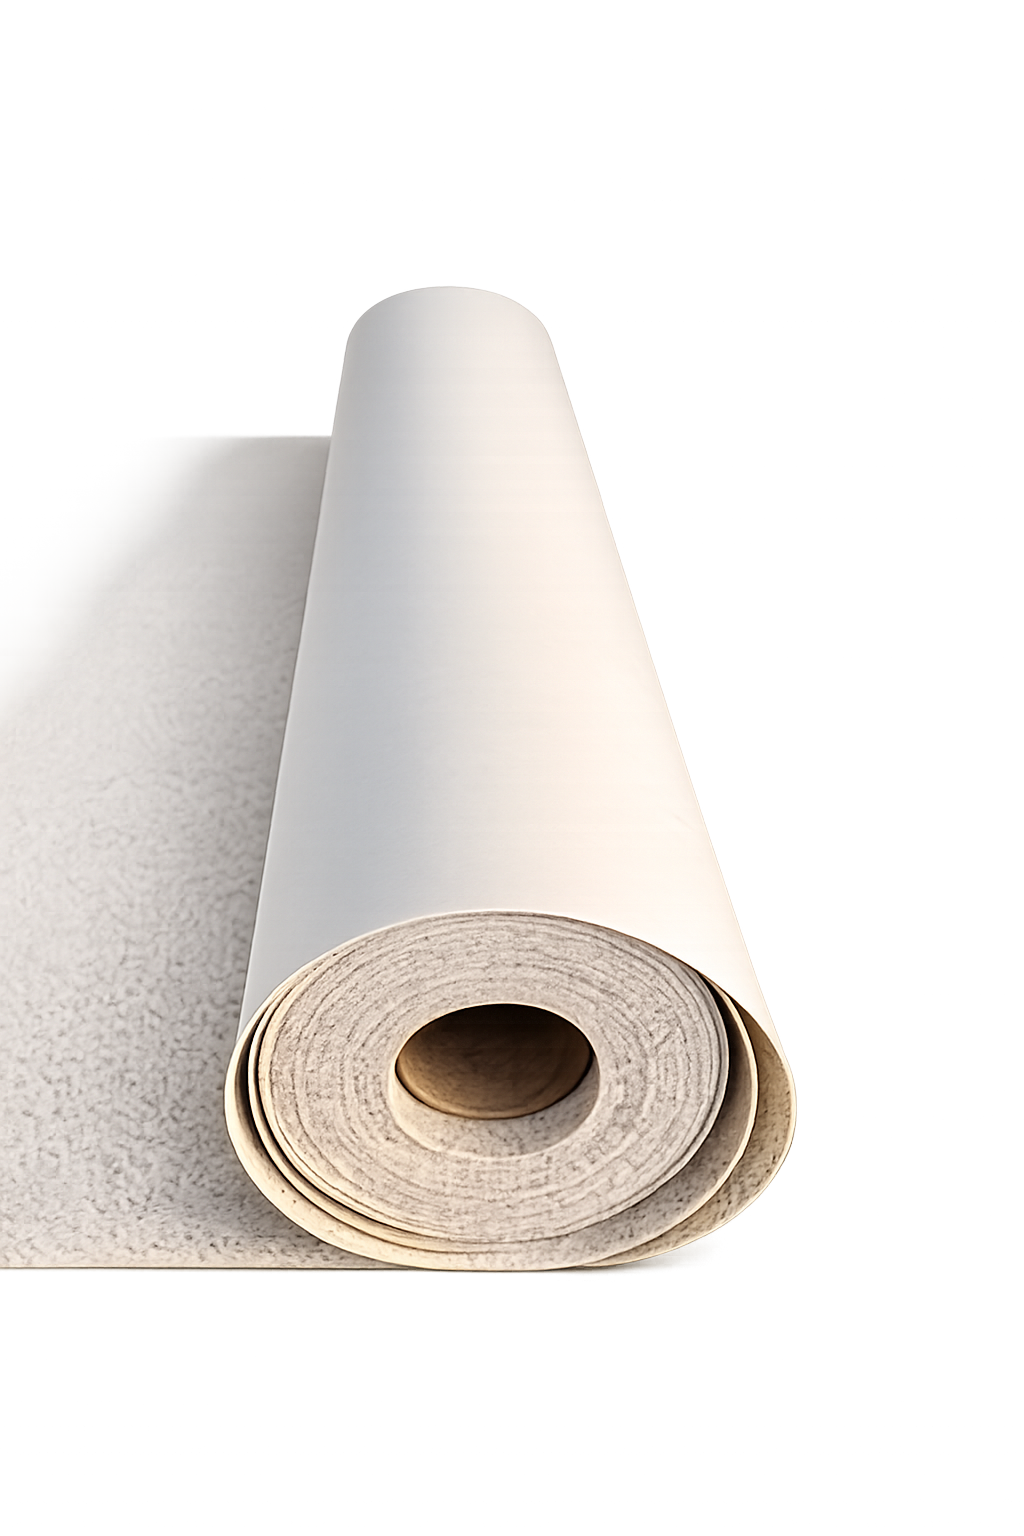
Vapour Barrier
95g/m² | 1000ft² | 1.22m, 48in | 76.2m, 250in
Vapour Barrier
110g/m² | 1000ft² | 1.22m, 48in | 76.2m, 250in
Original price was: ₹1,800.00.₹1,322.00Current price is: ₹1,322.00.
Apply Synthetic Roofing Underlayment over a dry, smooth, clean and defect-free roof deck. Synthetic Roofing Underlayment shall not be installed over existing roof cladding.
Synthetic Roofing Underlayment serves as a vapor barrier. Ensure the space beneath the roof sheathing is properly ventilated before installing to avoid condensation problems.
Lay courses of Synthetic Roofing Underlayment horizontally in shingle-style fashion, following lap lines with 4-inch course overlaps and 6-inch end laps, starting at the eave edge. Offset end laps in successive courses by 6 feet.
When attaching Synthetic Roofing Underlayment to the roof sheathing:
When used under tile, slate, cedar, and metal roof claddings, 1-inch minimum diameter metal or plastic (ring-shank or smooth-shank) cap-nails or cap-staples are required.
When used under asphalt or synthetic shingles, 1-inch minimum diameter metal or plastic cap-nails or cap-staples are recommended. Uncapped staples or standard roofing nails may be used if shingles are installed within 36 hours — except when rain or high winds are expected. Use of uncapped fasteners may result in a risk of blow-off or leakage around fastener penetrations during wind or rain events.
All anchoring must be flush to the roof and at 90 degrees to the roof deck.
Install fasteners 12 inches on center (O.C.) along course and end overlaps, and a single row 24 inches on center (O.C.) along the midline of the field. Use the printed pattern as a guide.
In high wind zones (at or above 100 mph as per IRC R301.2), fasteners must be installed at all printed locations on the Synthetic Roofing Underlayment. It must be fastened using corrosion-resistant metal or plastic cap nails having a head diameter of at least 1 inch and a thickness of at least 32-gauge sheet metal. The cap-nail shank shall be a minimum of 12-gauge (0.105 inches) with a length to penetrate the roof sheathing by a minimum of ¾ inch.
Apply Synthetic Roofing Underlayment in two layers on roofs with slopes between 2:12 and 4:12. Start with a 26-inch undercourse strip parallel to the eave edge, then cover with a full-width sheet. Overlap successive sheets by 26 inches.
Install Synthetic Roofing Underlayment over drip edges along the eave edge and under drip edges along rake edges.
Underlayment a minimum of 8 inches onto walls.
Line roof valleys with a sheet of Synthetic Roofing Underlayment before installing horizontal courses. Lap the ends of horizontal courses over the valley sheet by 6 inches.
At ridges and hips without ridge vents, cross-lap Synthetic Roofing Underlayment from one roof plane to the other by 6 inches. For additional weather protection, apply a 24-inch-wide sheet of Synthetic Roofing Underlayment across hips and ridges.
Apply Synthetic Roofing Underlayment taut and wrinkle-free. Do not stretch.
Do not apply Synthetic Roofing Underlayment over wet or frost-covered roof sheathing.
Caution should be taken when walking on Synthetic Roofing Underlayment until it has been fastened according to instructions.
Caution should be taken when walking on Synthetic Roofing Underlayment when it is wet or frost-covered.
Use fall protection when working on the roof. Refer to OSHA safety regulations in 29 CFR 1926, Subpart M.
Consult your local Synthetic Roofing Underlayment Specialist for additional information.
Reviews
There are no reviews yet.